
How to Maintain Home Water Filters for Clean Drinking Water Guide
I’ve lost count of how many homes I’ve walked into where a high-end filtration system sits under the sink, completely ignored until the water starts tasting like an old swimming pool. People drop hundreds—sometimes thousands—on reverse osmosis units or multi-stage carbon filters, thinking it’s a “set it and forget it” appliance. It’s not. If you don’t service your equipment regularly, that sleek metal housing becomes a cozy breeding ground for bacteria. Trust me on this: ignoring your maintenance schedule is a fast track to drinking water that’s actually dirtier than what’s coming straight out of the municipal main. Let’s fix that right now.
- • Decoding Your System's Secret Language: When Is It Actually Time for a Change?
- • Step-by-Step Cartridge Replacement Without Flooding Your Kitchen
- • Sanitizing the Lines: The Step Most People Skip
- • Troubleshooting Low Flow and Weird Tastes
- ↳ How often should I really change my whole house sediment filter?
- ↳ Can I clean and reuse a water filter cartridge?
- ↳ Why does my filtered water taste like plastic?
- ↳ Do reverse osmosis systems waste too much water?
Key Takeaways & Quick Overview
AI Verified
- ✔How to maintain home water filters for clean drinking water guide i’ve lost count of how many homes i’ve walked into where a high-end filtration system sits under the sink, completely ignored until the water starts tasting like an old swimming pool.
- ✔People drop hundreds—sometimes thousands—on reverse osmosis units or multi-stage carbon filters, thinking it’s a “set it and forget it” appliance.
- ✔If you don’t service your equipment regularly, that sleek metal housing becomes a cozy breeding ground for bacteria.
- ✔Trust me on this: ignoring your maintenance schedule is a fast track to drinking water that’s actually dirtier than what’s coming straight out of the municipal main.
Decoding Your System’s Secret Language: When Is It Actually Time for a Change?
Manufacturers love slapping generic timelines on filter boxes. “Change every six months,” they say. But here is the ugly truth: your water usage, local mineral content, and total dissolved solids (TDS) dictate the real-world lifespan of your media. A family of five hammering a whole-house carbon tank will chew through that media twice as fast as a single person living alone.
You need to pay attention to physical indicators. Has the flow rate dropped significantly? That’s your first red flag. Are you noticing a subtle metallic twang or a faint chlorine odor creeping back into your morning coffee? The activated carbon is exhausted. According to the EPA drinking water standards, maintaining the physical integrity of your plumbing and filtration lines is non-negotiable for safety. When your pressure tanks struggle or your faucet sputters air mixed with water, stop guessing and pull the cartridge. Look at it. If it looks like it survived a mudslide, you’re already late.
Step-by-Step Cartridge Replacement Without Flooding Your Kitchen
I learned this the hard way years ago: always shut off the feed water valve before you wrench open a filter housing. Otherwise, you’re looking at an impromptu indoor swimming pool beneath your kitchen sink. Keep a bucket and a stack of old towels handy. Every single time.
Here is my field-tested ritual for swapping out standard under-sink cartridges:
- Isolate the system: Turn off the cold water supply valve leading directly into the filter unit. Open the dedicated drinking water faucet to relieve internal pressure.
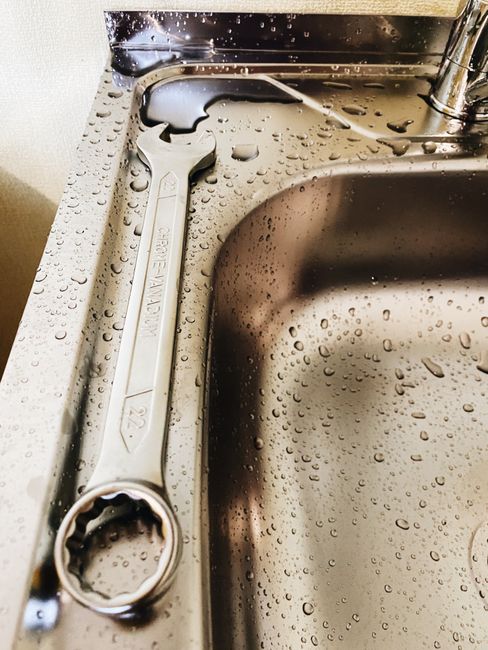
- Break the seal: Use the manufacturer-provided plastic wrench to loosen the sump housing. If it’s stuck tight—which happens when mineral scale fuses the threads—tap it gently with a rubber mallet. Don’t force it with metal tools unless you want to crack the plastic.
- Sanitize the housing: Discard the old filter. Scrub the inside of the plastic canister with warm water and a few drops of unscented household bleach. Rinse it out thoroughly. Residue chemical tastes are brutal.
- Inspect the O-ring: This is where most DIYers fail. Wipe down the rubber O-ring that seals the canister. If it’s dry, cracked, or flattened out, replace it. Slather a tiny bit of food-grade silicone grease on it. This ensures a tight seal and stops future leaks dead in their tracks.
- Drop the new media in: Insert your certified replacement cartridge, screw the housing back on hand-tight, and open the water supply slowly.
Sanitizing the Lines: The Step Most People Skip
Changing the filter element is only half the battle. What about the stagnant water sitting in the lines and the storage tank of your reverse osmosis setup? Pathogens love dark, damp places. Reference NSF International filtration guidelines to understand why chemical sanitation is a critical step in system longevity.
Once a year, you need to flush the entire system with a sanitizing solution. For a standard RO tank, this means draining the system completely, injecting about a teaspoon of unscented household bleach into the empty housing, refilling it, letting it sit for thirty minutes, and then flushing the entire system twice. Yes, it takes an hour. No, you shouldn’t skip it. If you skip this, you are brewing your own microscopic ecosystem.
Troubleshooting Low Flow and Weird Tastes
Sometimes you do everything right, and the system still acts up. Let’s troubleshoot the most common headaches.
If your reverse osmosis system runs constantly and goes straight down the drain without stopping, your automatic shut-off valve (ASOV) is likely shot, or your storage tank has lost its internal air pressure. Grab a tire pressure gauge and check the Schrader valve on the side of the pressure tank. It should read around 7 to 8 PSI when completely empty of water. If it’s flat, pump it up with a standard bicycle pump. If it won’t hold air, the bladder inside is ruptured, and you need a new tank.
Dealing with cloudy or milky water right after a filter change? Don’t panic. That’s just trapped air fizzing out of the new carbon block. Let the faucet run wide open for five to ten minutes. It will clear right up.
Frequently Asked Questions
How often should I really change my whole house sediment filter?
Most basic whole-house sediment filters need replacement every 3 to 6 months. However, if you live in an area with high iron, silt, or aging municipal pipes, you might find yourself swapping them out every 30 to 45 days. Let your water pressure and visual inspection be your ultimate guide.
Can I clean and reuse a water filter cartridge?
Short answer: absolutely not. Long answer: while some specialized ceramic or stainless steel mesh filters can be scrubbed and rinsed, standard carbon block and sediment filters cannot be washed clean of trapped chemical contaminants and biological growth. Trying to reuse them compromises your water safety.
Why does my filtered water taste like plastic?
This usually happens for two reasons: either a brand-new carbon filter wasn’t thoroughly flushed before initial use, or the wrong type of tubing was installed during setup. Always flush new carbon filters by running several gallons of water through them before drinking. If the taste persists, ensure your installer used NSF-certified polyethylene tubing.
Do reverse osmosis systems waste too much water?
Traditional RO systems do send wastewater down the drain to flush impurities away—historically at a ratio of 3 or 4 gallons of waste for every 1 gallon of purified water. Modern systems are much more efficient, often featuring built-in permeate pumps that cut that waste ratio down significantly. Regular maintenance ensures your efficiency doesn’t degrade over time.