
I’ve lost count of how many homes I’ve walked into where a high-end refrigerator looks like it survived a knife fight. People drop thousands of dollars on professional-grade kitchen gear, only to ruin the finish within six months because they grabbed a green Scotch-Brite pad and some harsh bleach spray. It breaks my heart. Here’s the ugly truth: stainless steel isn’t actually stainless. It stains. It streaks. And worst of all, it scratches if you look at it wrong. But once you learn the mechanics of the metal—and stop treating it like a porcelain sink—keeping it pristine takes about five minutes a week. Trust me on this, I’ve tested every method under the sun, and the secret isn’t some overpriced boutique cleaner. It’s technique.
- • The Anatomy of the Scratch: Why Your Current Method Is Failing
- • The Two-Step Blueprint for Daily Degreasing and Polishing
- • Handling Stubborn Water Spots and Baked-On Grease
- • What Never to Use on Stainless Steel
- ↳ Can you fix deep scratches on stainless steel?
- ↳ Why does my stainless steel look streaky after cleaning?
- ↳ Is baby oil safe for polishing kitchen appliances?
- ↳ How often should I deep clean my appliances?
Key Takeaways & Quick Overview
AI Verified
- ✔I’ve lost count of how many homes i’ve walked into where a high-end refrigerator looks like it survived a knife fight.
- ✔People drop thousands of dollars on professional-grade kitchen gear, only to ruin the finish within six months because they grabbed a green scotch-brite pad and some harsh bleach spray.
- ✔Here’s the ugly truth: stainless steel isn’t actually stainless.
- ✔And worst of all, it scratches if you look at it wrong.
The Anatomy of the Scratch: Why Your Current Method Is Failing
Before we touch a single drop of soap, you need to understand what you’re actually looking at. That brushed finish on your dishwasher or stove? Those aren’t random manufacturing marks. They are microscopic parallel grooves, known simply as the grain. When you wipe in circles—yes, the classic “wax on, wax off” karate kid motion—you are dragging grit across those microscopic ridges. That grit acts like a chisel. Boom. Instant, permanent scratch.
According to guidelines often discussed by organizations like the National Kitchen & Bath Association, preserving the factory finish requires respecting the material’s structural orientation. If you want to dive deeper into appliance longevity, Consumer Reports frequently highlights how improper chemical exposure degrades protective coatings on modern kitchen surfaces. I learned this the hard way back in my first apartment when I used a powdered cleanser on a stainless microwave. The result looked like a cat had used it as a scratching post. Never again. If your rag has trapped food particles or mineral grit from a previous wipe, you’re essentially sanding your appliance.

The Two-Step Blueprint for Daily Degreasing and Polishing
Forget the multi-step chemical kits lining the supermarket aisles. They leave a waxy buildup that attracts fingerprints faster than you can wipe them away. Here is the exact protocol I use in my own kitchen. It costs pennies and takes zero elbow grease.
First, identify your grain. Get up close to the appliance under bright light. Do the lines run horizontally or vertically? Good. Now, grab two clean microfiber cloths—one slightly damp with warm water and a tiny drop of plain blue Dawn dish soap, and one completely dry.
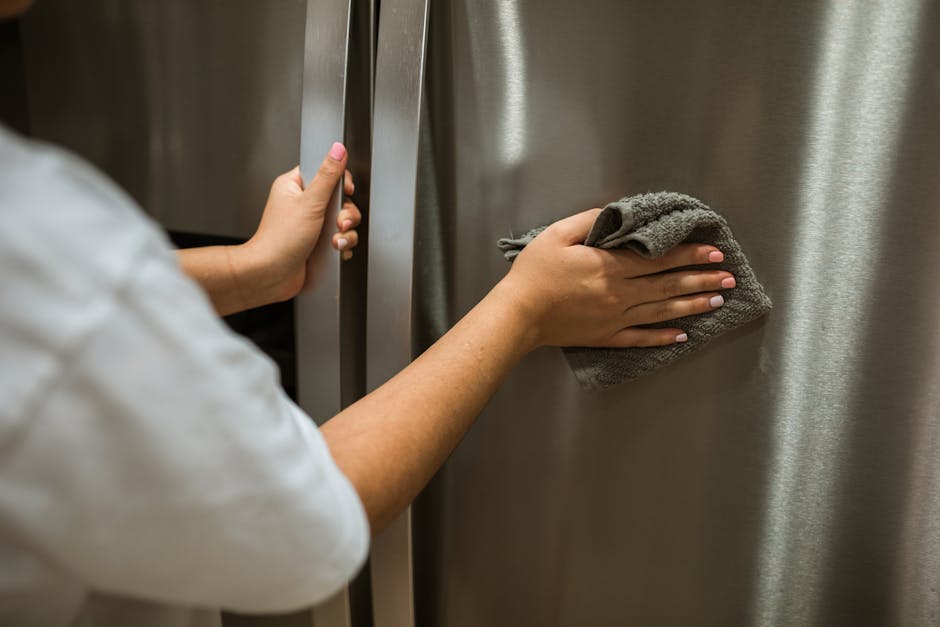
- Step 1: The Wipe Down. Wipe the surface firmly, moving strictly with the grain, never against it or across it. This lifts grease, toddler fingerprints, and dried sauce splatters without abrading the metal.
- Step 2: The Dry Buff. Immediately take your second, completely dry microfiber cloth and buff the surface in the exact same directional motion. This removes water spots and brings out the natural, streak-free luster.
Handling Stubborn Water Spots and Baked-On Grease
Sometimes, basic dish soap isn’t enough. Maybe you have hard water, or maybe a grease splatter from last week’s steak dinner has basically fused to the oven hood. Don’t panic. Do not reach for the steel wool.
Instead, raid your pantry for white vinegar and olive oil. Spray straight white vinegar onto a microfiber cloth (never directly onto the appliance, as it can seep into electronic control panels) and work it into the stubborn spot with the grain. Vinegar dissolves mineral deposits and cuts through stubborn grease films effortlessly.
Once the grime is gone and the surface is dry, here is the pro trick: put literally one or two drops of olive oil or mineral oil on a fresh cloth. Buff it into the steel with the grain. Wipe away any excess with a dry towel. This creates an invisible, microscopic barrier that repels fingerprints for days. Your fridge will practically glow.
What Never to Use on Stainless Steel
Let’s clear the air once and for all. If you have any of the following items in your cleaning caddy under the sink, throw them out or banish them from the kitchen:
- Scouring powders (Comet, Ajax): They are pure abrasives. They will strip the finish instantly.
- Bleach and chlorine-based cleaners: Stainless steel contains chromium, which creates a passive layer protecting it from rust. Chlorine breaks down that layer, causing pitting and actual corrosion.
- Steel wool or metal scrapers: Even “fine” steel wool leaves tiny fragments behind that rust and ruin the aesthetic.
- Paper towels: While they won’t destroy heavy-duty steel, they leave behind tiny paper fibers and can cause micro-scratches over time if they catch on an edge.
Frequently Asked Questions
Can you fix deep scratches on stainless steel?
Sometimes, but it depends on the appliance. If your stainless steel is actually faux-stainless (a thin film over regular metal), sanding it will ruin it. If it’s solid stainless, specialized scratch-removal kits (like Scratch-Boutique) use abrasive pads matched to the specific grit of your appliance grain. It takes patience, but you can blend deep scratches out entirely.
Why does my stainless steel look streaky after cleaning?
Streaks almost always happen for two reasons: you used too much product (like polish or oil), or you wiped in circles instead of following the grain. Strip the residue off using a cloth dampened with a 50/50 mix of water and rubbing alcohol, then buff dry with a clean microfiber towel.
Is baby oil safe for polishing kitchen appliances?
Yes, mineral oil (which is what most baby oils are, minus the fragrance) is actually one of the best food-safe and appliance-safe polishes available. Just use a microscopic amount. If the surface feels greasy to the touch, you used too much.
How often should I deep clean my appliances?
A quick daily wipe of high-touch areas (like refrigerator handles and microwave buttons) takes 30 seconds. A full clean and polish with vinegar or oil needs to happen only once every two to three weeks, depending on your household traffic.